Windows 10 Printing
Windows 10 Printer Configuration
-
windows printers and scanners
-
windows add printer
STEP 1:
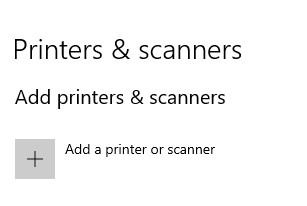
1. Go To Printers & Scanners in the Control Panel
2. Click Add a printer or scanner
3.You will then have to wait until your computer finishes scanning for new printers.
4. Then select "The printer that I wanted isn't listed"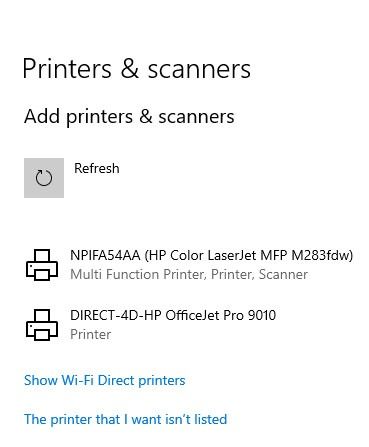
-
windows add manual settings
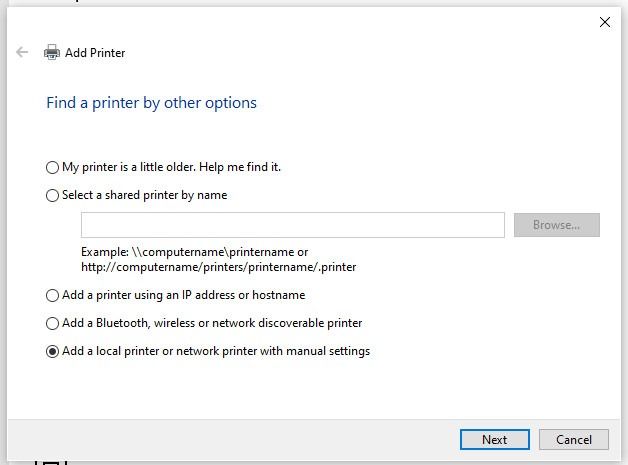
STEP 2: "find a printer by other options"
1 - Select "Add a local printer or network printer with manual settings"
2 -click next -
windows generic text only
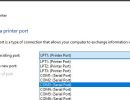
STEP 3: "Choose a port"
1. click "Use an existing port"
2. use the drop-down menu to select the com port with your USB->serial adapter
3. click Next -
windows install printer driver
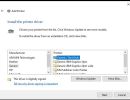
STEP 4:"Install printer driver dialog"
1. select "Generic" in the left column
2. and "Generic / Text Only" in the right column -
windows driver version
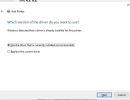
STEP 5: "Which version of the driver do you want to use"
1- select "Use the driver that is currently installed (recommended)"
2 -click Next -
windows printer name
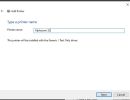
STEP 6: "Type a name"
The the Printer name default to "Generic /Text Only"
1 - Enter you choice of printer name. In the example shown, I changed mine to Alphacom 32
2 - click Next -
windows printer share
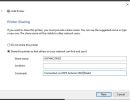
STEP 7: "Printer sharing"
1- Leave the setting as "Do not shre this printer"
or2- Share select "Share this printer so that others on your network can find and use it"
set the share name and optionally a location and comment
3- click Next -
windows finish
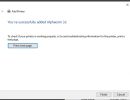
STEP 8: "You have successfully added ..."
1- click Finish -
printer properties flow control
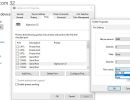
Now that you have created a new Text Only printer, in Printers & Scanner select this new printer then click "Manage"
Click "Printer Properties" , Click the "Ports" tab, for "Bits per second" select "9600"
and for "Flow control" select "Xon / Xoff", click OK -
the end windows printer configuration
STEP 1:
1. Go To Printers & Scanners in the Control Panel
2. Click Add a printer or scanner
3.You will then have to wait until your computer finishes scanning for new printers.
4. Then select "The printer that I wanted isn't listed"
STEP 2: "find a printer by other options"
1 - Select "Add a local printer or network printer with manual settings"
2 -click next
STEP 3: "Choose a port"
1. click "Use an existing port"
2. use the drop-down menu to select the com port with your USB->serial adapter
3. click Next
STEP 4:"Install printer driver dialog"
1. select "Generic" in the left column
2. and "Generic / Text Only" in the right column
STEP 5: "Which version of the driver do you want to use"
1- select "Use the driver that is currently installed (recommended)"
2 -click Next
STEP 6: "Type a name"
The the Printer name default to "Generic /Text Only"
1 - Enter you choice of printer name. In the example shown, I changed mine to Alphacom 32
2 - click Next
STEP 7: "Printer sharing"
1- Leave the setting as "Do not shre this printer"
or
2- Share select "Share this printer so that others on your network can find and use it"
set the share name and optionally a location and comment
3- click Next
STEP 8: "You have successfully added ..."
1- click Finish
Now that you have created a new Text Only printer, in Printers & Scanner select this new printer then click "Manage"
Click "Printer Properties" , Click the "Ports" tab, for "Bits per second" select "9600"
and for "Flow control" select "Xon / Xoff", click OK
