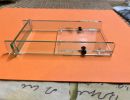
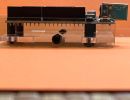
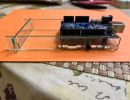
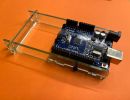
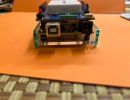
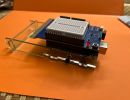
Tray designed for ZXPS 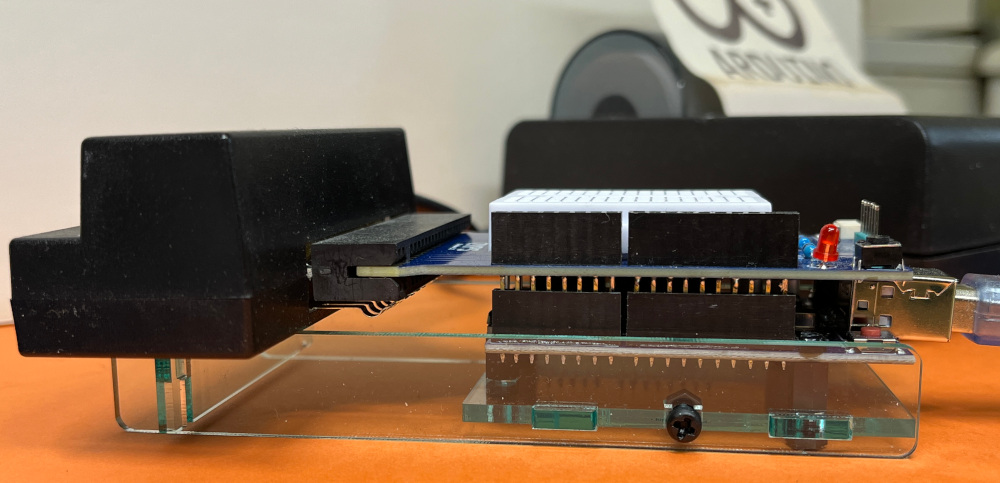
|
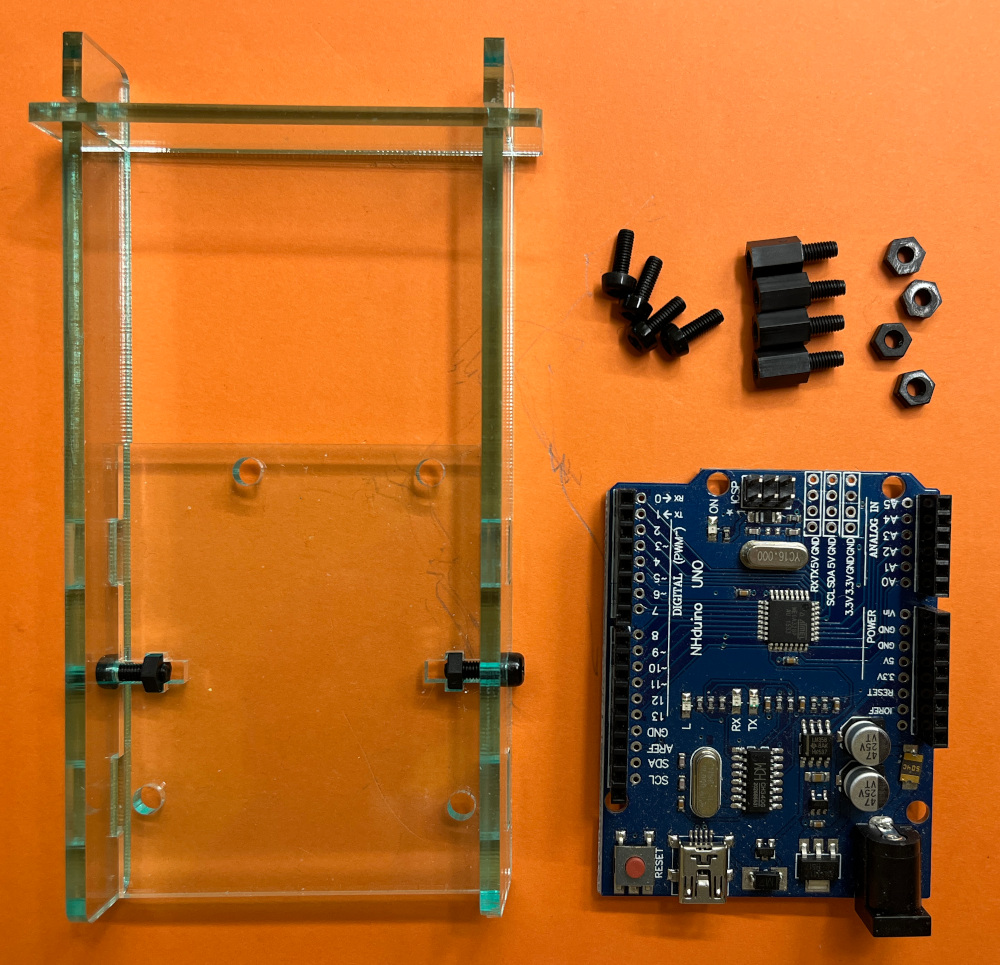
Tray sitting beside Arduino UNO |
 |
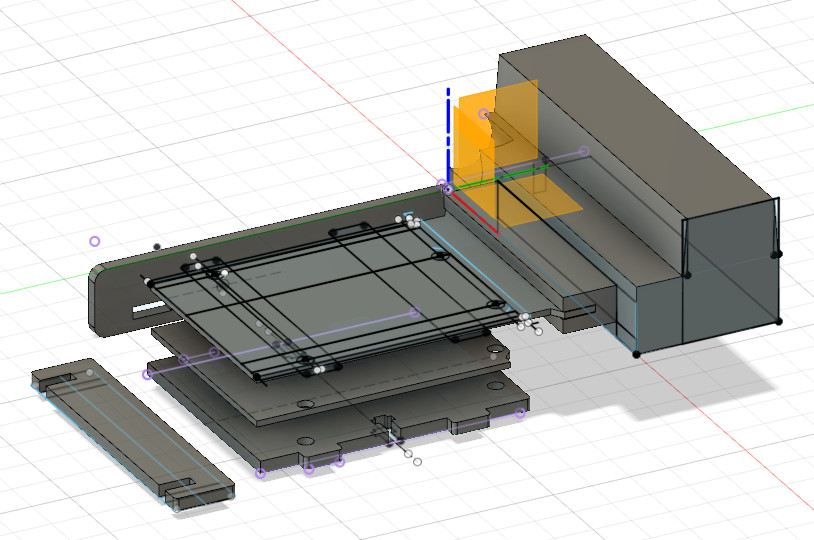 |
The ZXPS tray was designed in Fusion 360 to use 1/8"
|
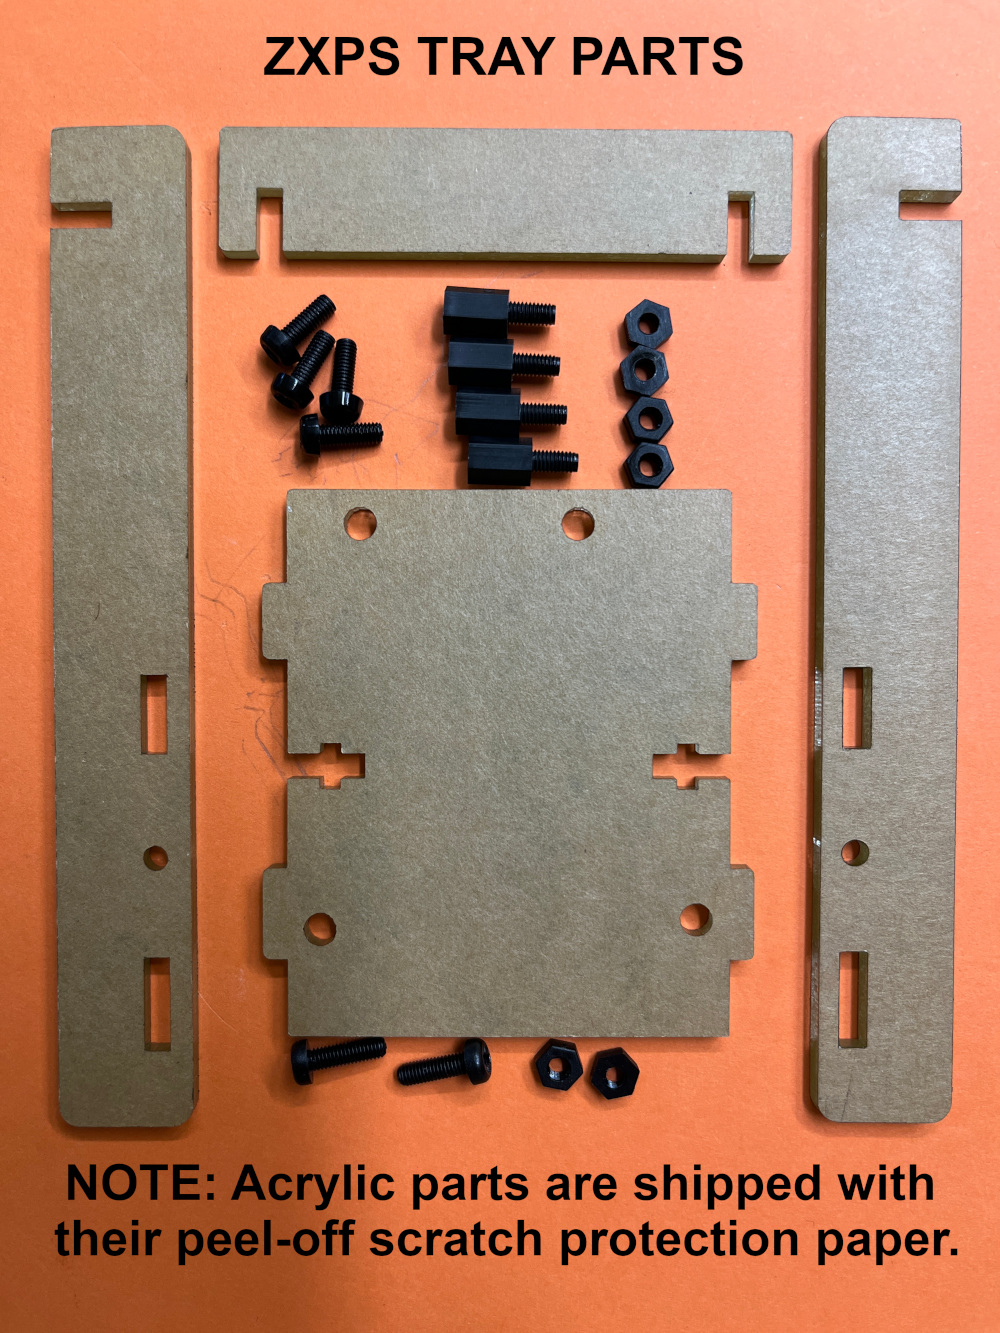
Tray Parts:
| QTY | DESCRIPTION |
| 1 | Acrylic Tray Baseplate |
| 2 | Acrylic Tray Side |
| 1 | Arcylic Tray Crossbar |
| Parts for mounting Arduino to Baseplate | |
| 4 | 3mm Nylon Nuts |
| 4 | Nylon Standoffs |
| 2 | 8mm Nylon Screws with cut heads (Use these if your Arduino does not have clearance for screws with uncut heads.) |
| 4 | 8mm Nylon Screws |
| Parts for securing tray sides to baseplate | |
| 2 | 3mm Nylon Nuts |
| 2 | 10mm Nylon Screws |
How it works.
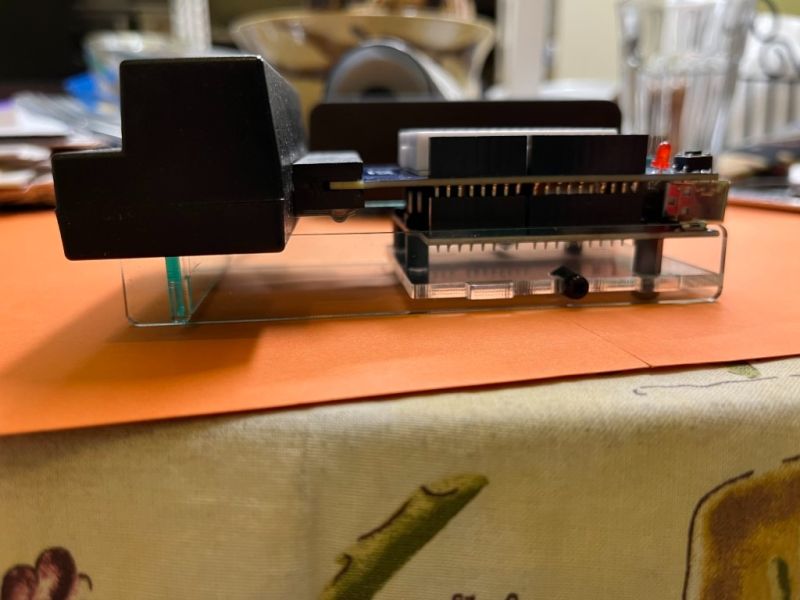
The tray is attached to your Arduino and separates the Arduino from your table top and also provides a resting place for your printer's connector housing.
Assembly:
Tools Required: Phillips head screw driver and small plyers.
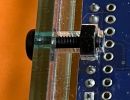
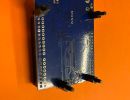
1 - Attach the Arduino to the base plate as follows: To each of the 4 Arduino UNO mounting holes insert a nylon screw through the top of the Arduino and secure it by screwing on and tightening one of the nylon standoffs. On many arduinos, one of the mounting holes is too close to an Arduino pin header, so I clip the head of one of the nylon screws for that particular hole.
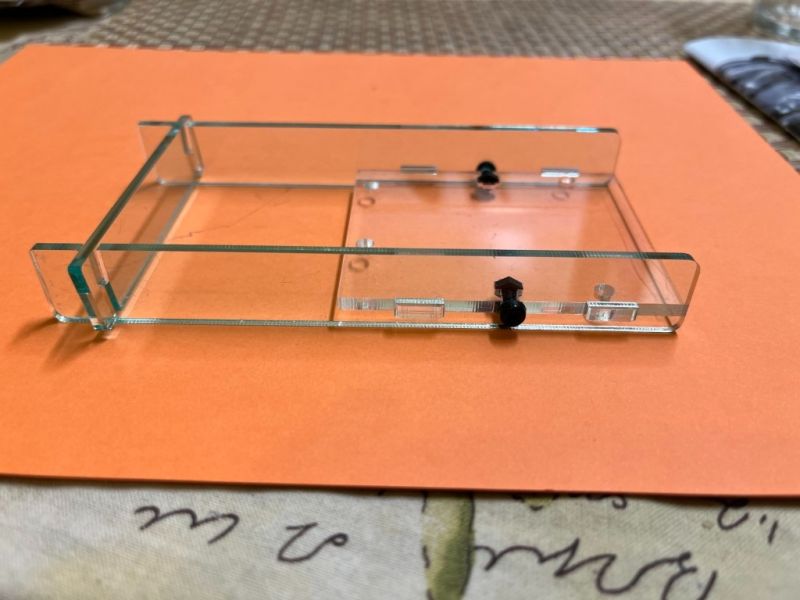
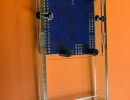
2 - Insert either one of the side panels onto either side of the Arduino-baseplate assembly you just put together. Using one not and a screw, position the nut in the t-slot nearest the side you just positioned and insert a screw through the hole in the side panel into the nut and tighten it. Repeat this hole step for the other side panel on the remaining side of the baseplate.
3- Sit the crossbar into the 2-notches at the other ends of your side bars. It does not need fastening because it will be trapped in position by your printer's connector houseing.
4 - Plug your ZXPS into your Arduino.
5 - With power off on your printer and Arduino, insert your ZXPS into your printer's connector.
NOTE: The photos below show a tray made our of black acrylic sheet, but obviously can use other materials.
